Overview
Main Menu
![]()
Files
Allows you to adjust the main settings related to files.
New/Open project - To create or open a new project, refer to the section "Managing Your Project"["Managing Your Project"](project_management)..
Save - Saves the experience.
Save As - Saves the experience and allows you to rename the file.
Exit project - Exit the project. This function works only if the VR Preview is not active.
Exit - Closes the Practice Editor.
Window
Allows you to open new panels within the editor as well as reset the window layout. You can also open panels using the buttons located on the left column.
Help
Here you will find this guide itself.
Project Name
Displays the project name.
Layouts
![]()
Layouts are predefined configurations we offer to help with your experience creation workflow.
Set up: Ideal for importing and placing objects in the scene.
Training building: Layout designed for creating stories with a focus on the Step Flow.
VR testing: Finally, with this layout, you will have a focus on VR Preview, allowing you to observe the user's actions in virtual reality in real time.
Language

Allows you to change the language of the experience on the fly. For more details on these features, refer to the section "language management".
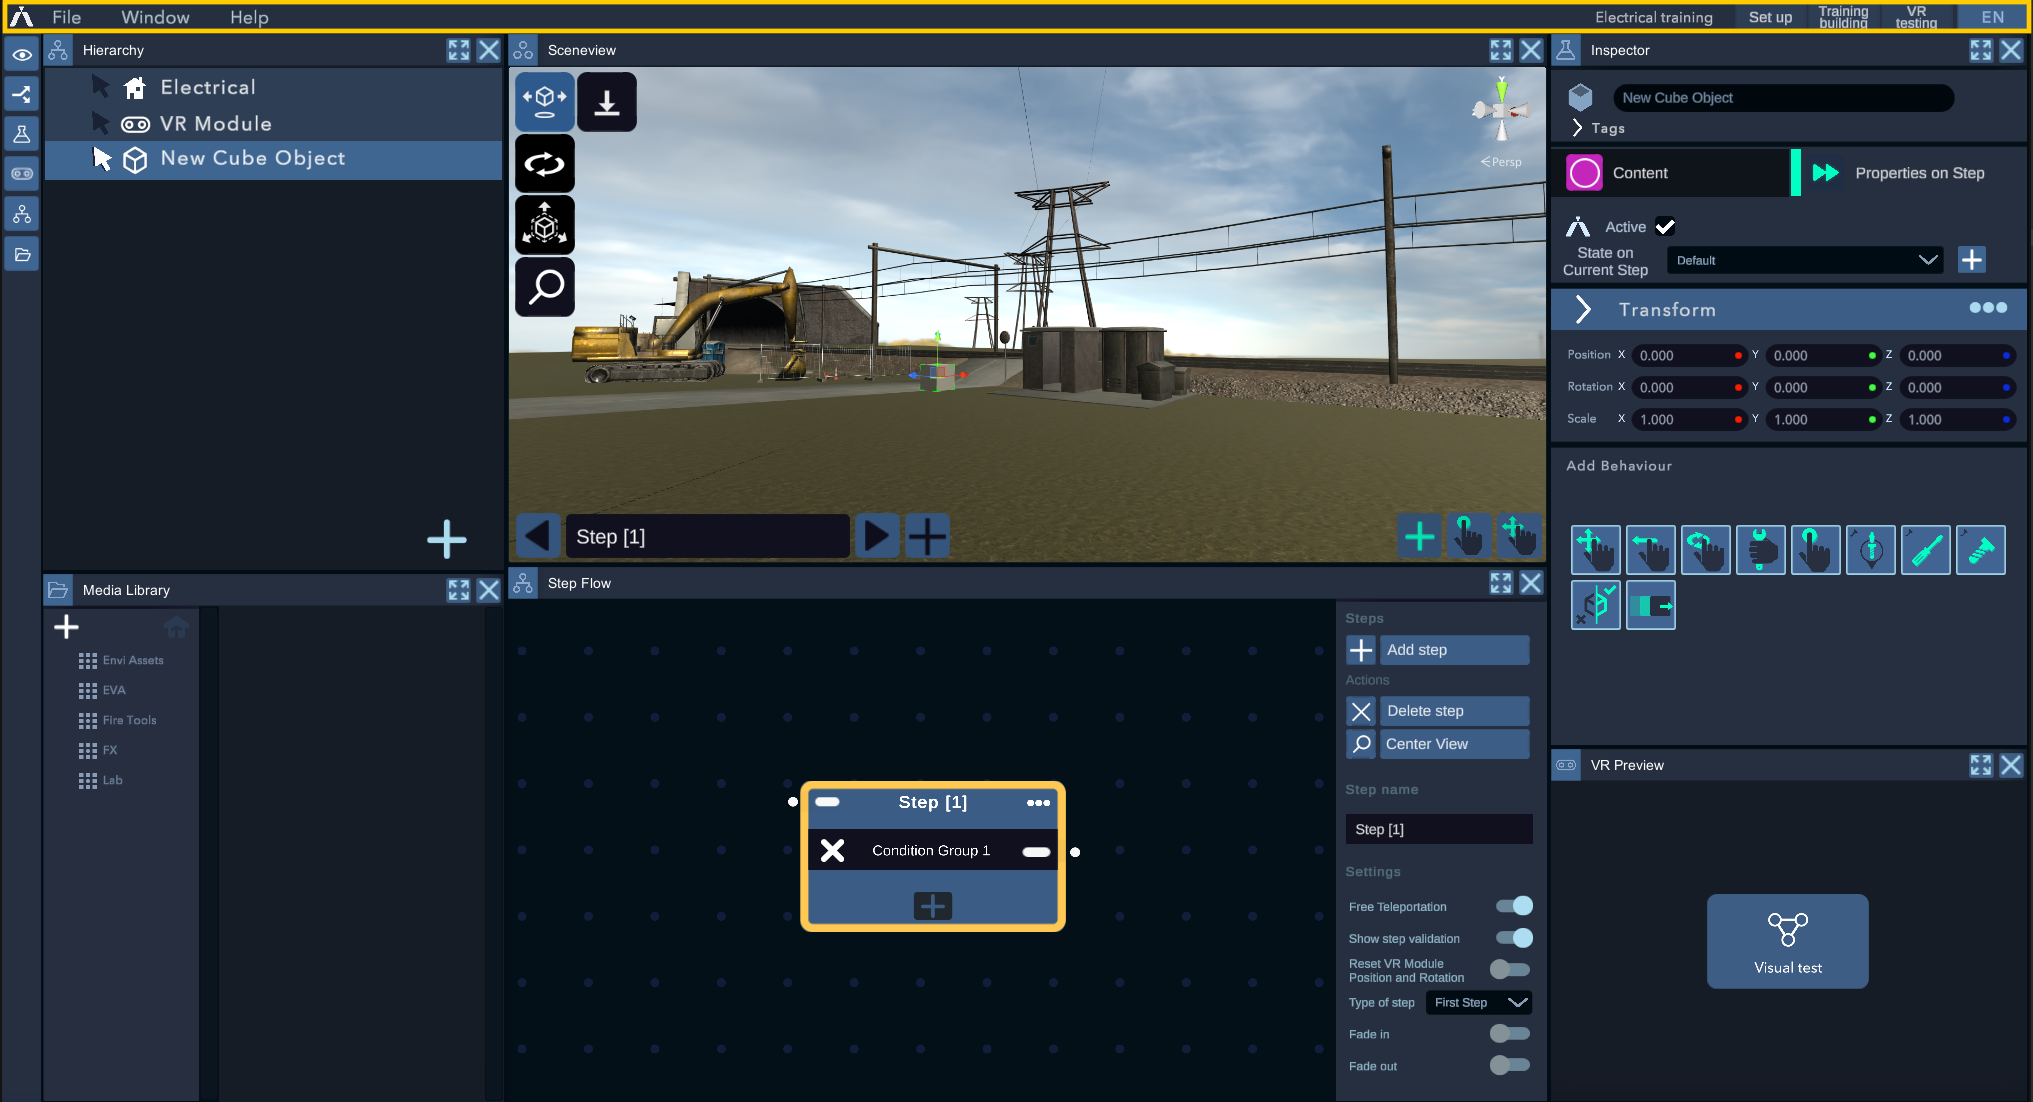
Inspector
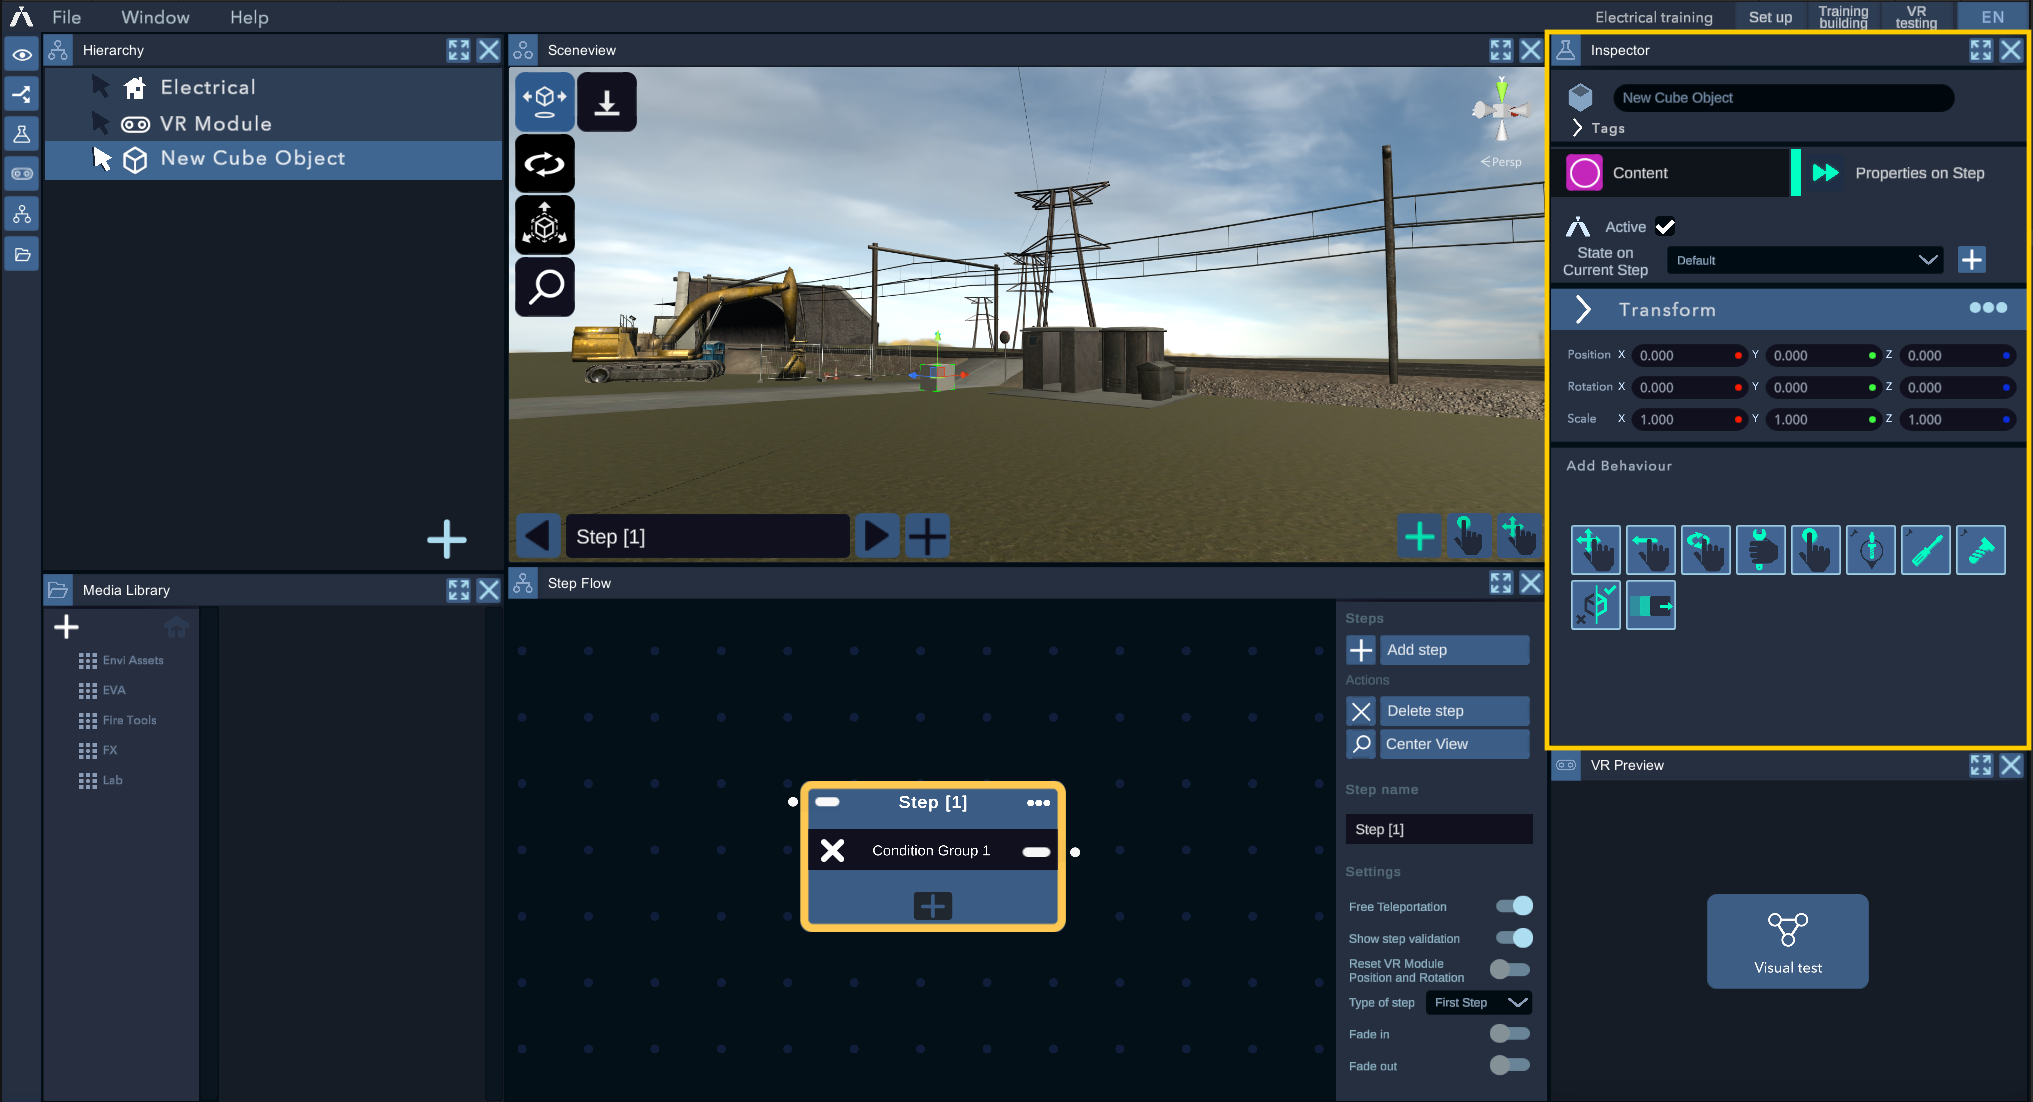
By default, the right side of the editor contains the Inspector. This panel provides information about the object currently selected in the Sceneview or Hierarchy.
The Inspector consists mainly of two tabs that define the selected object: State Content and Step Behaviour.
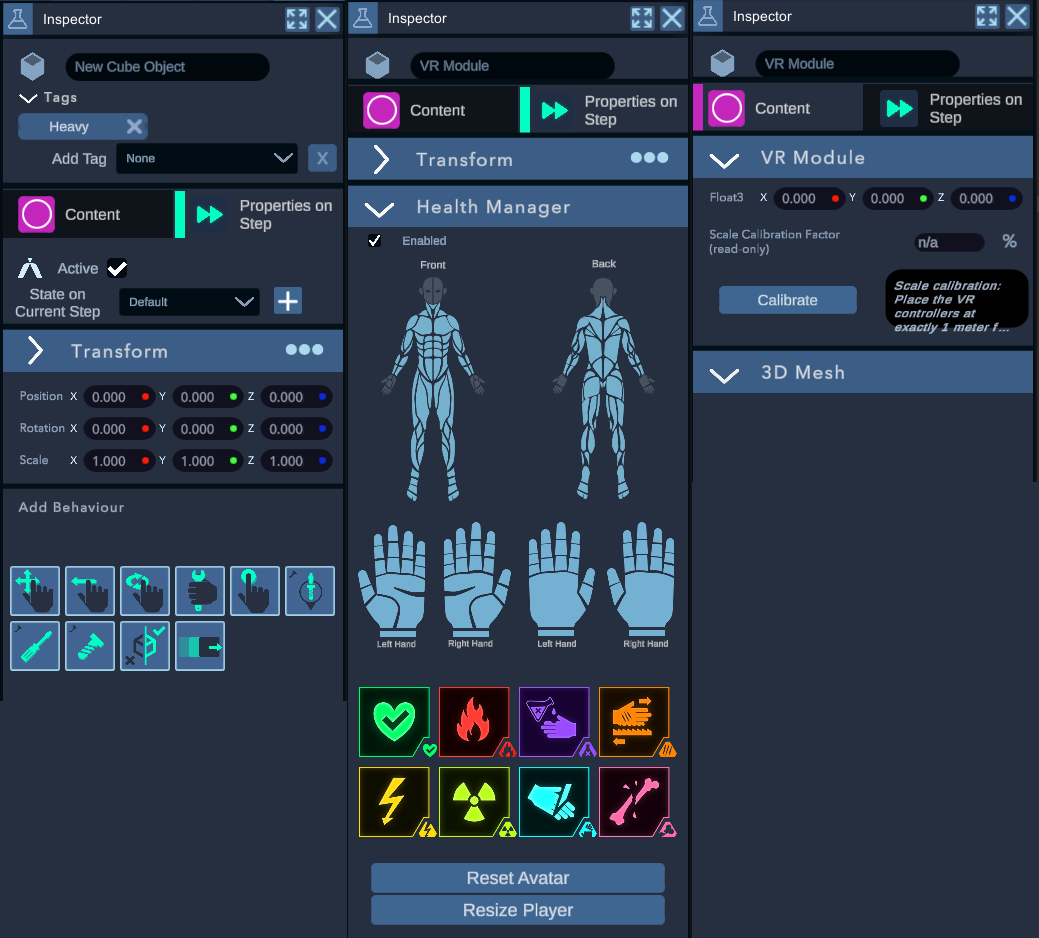
*Name*: The name of the object.
*Tag*: A label indicating a specific behavior associated with the object. For example, declaring an object as "Heavy" allows it to interact with the avatar and potentially cause injury.
Content
VR Module (on object "VR module"" only)
This is the component on the object representing the user's position in the scene. It has a "Calibrate" button. Press this button while holding the controllers one meter apart to automatically update the environment's scale relative to the user's size.
3D Mesh
Component displaying the presence or absence of a 3D mesh. The "Modify" button will allow you to access the Object Editor.
Material
Component that indicates the material the object will use at the end of this step.
Step Behaviour
Active
Indicates whether the object is currently active in the current step.
State on current step
The current state of the object. This object's state directly affects the avatar. For example, if the user touches an object with the state "Burning," it will be reflected on the avatar's skin.
Transform
Transform is a component present on all objects in the experience. It indicates the position, rotation, and scale of the selected object.
Health Manager (VR Module only)
Component indicating the presence and state of the avatar at the beginning of the Step. See the pointAvatar.
add a condition
Add a "Condition" component. For more information, refer to the "Conditions" section.
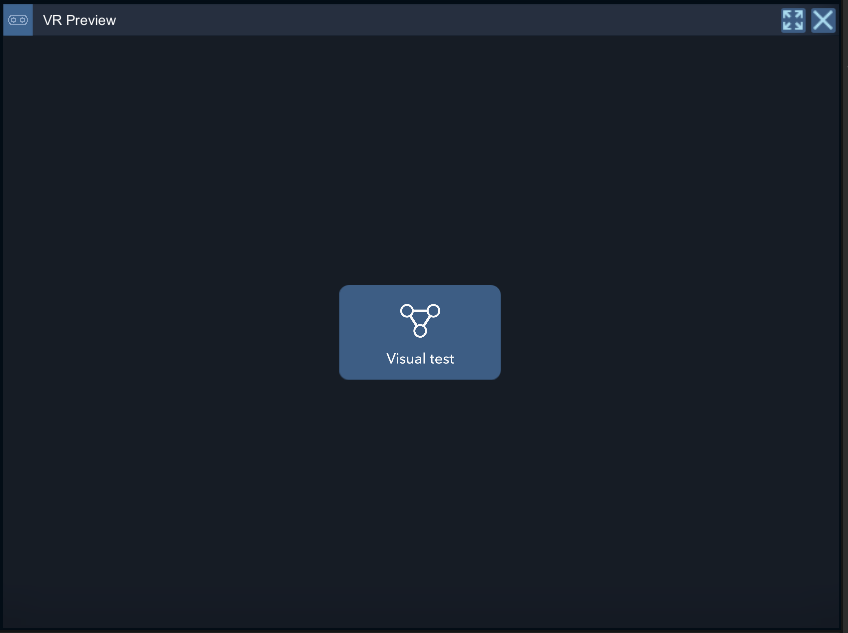
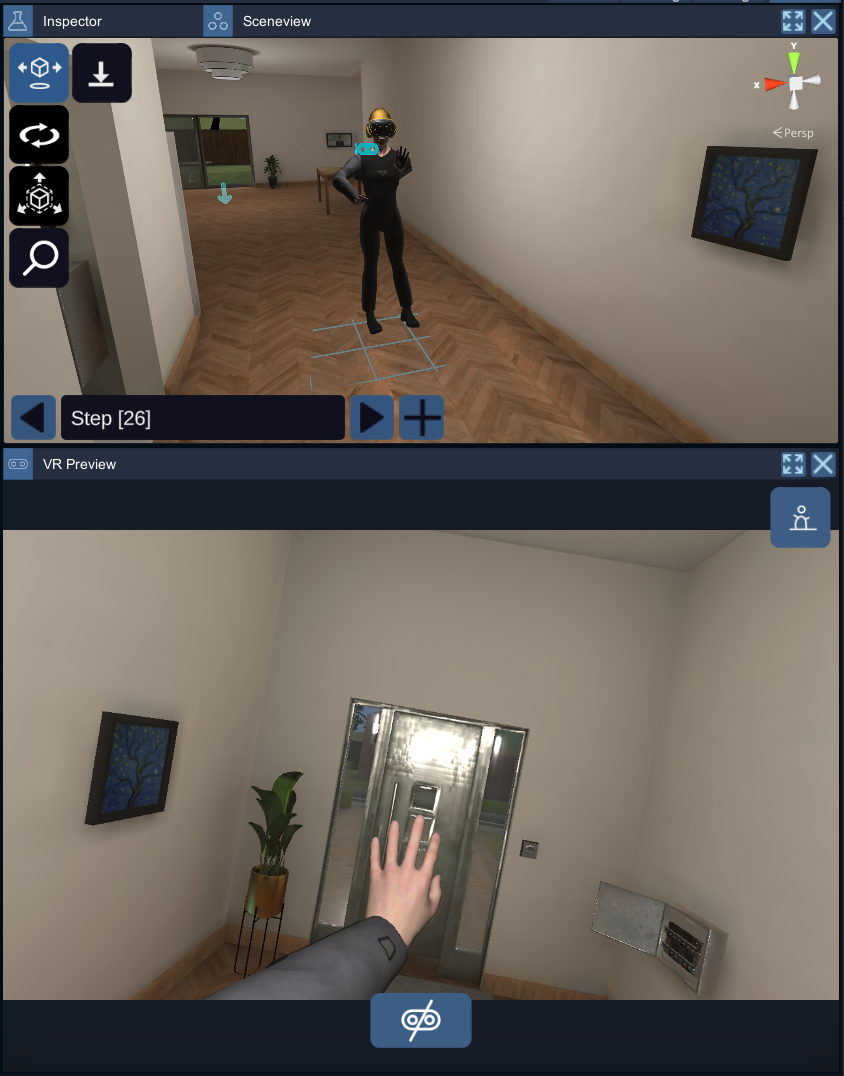
VR Preview
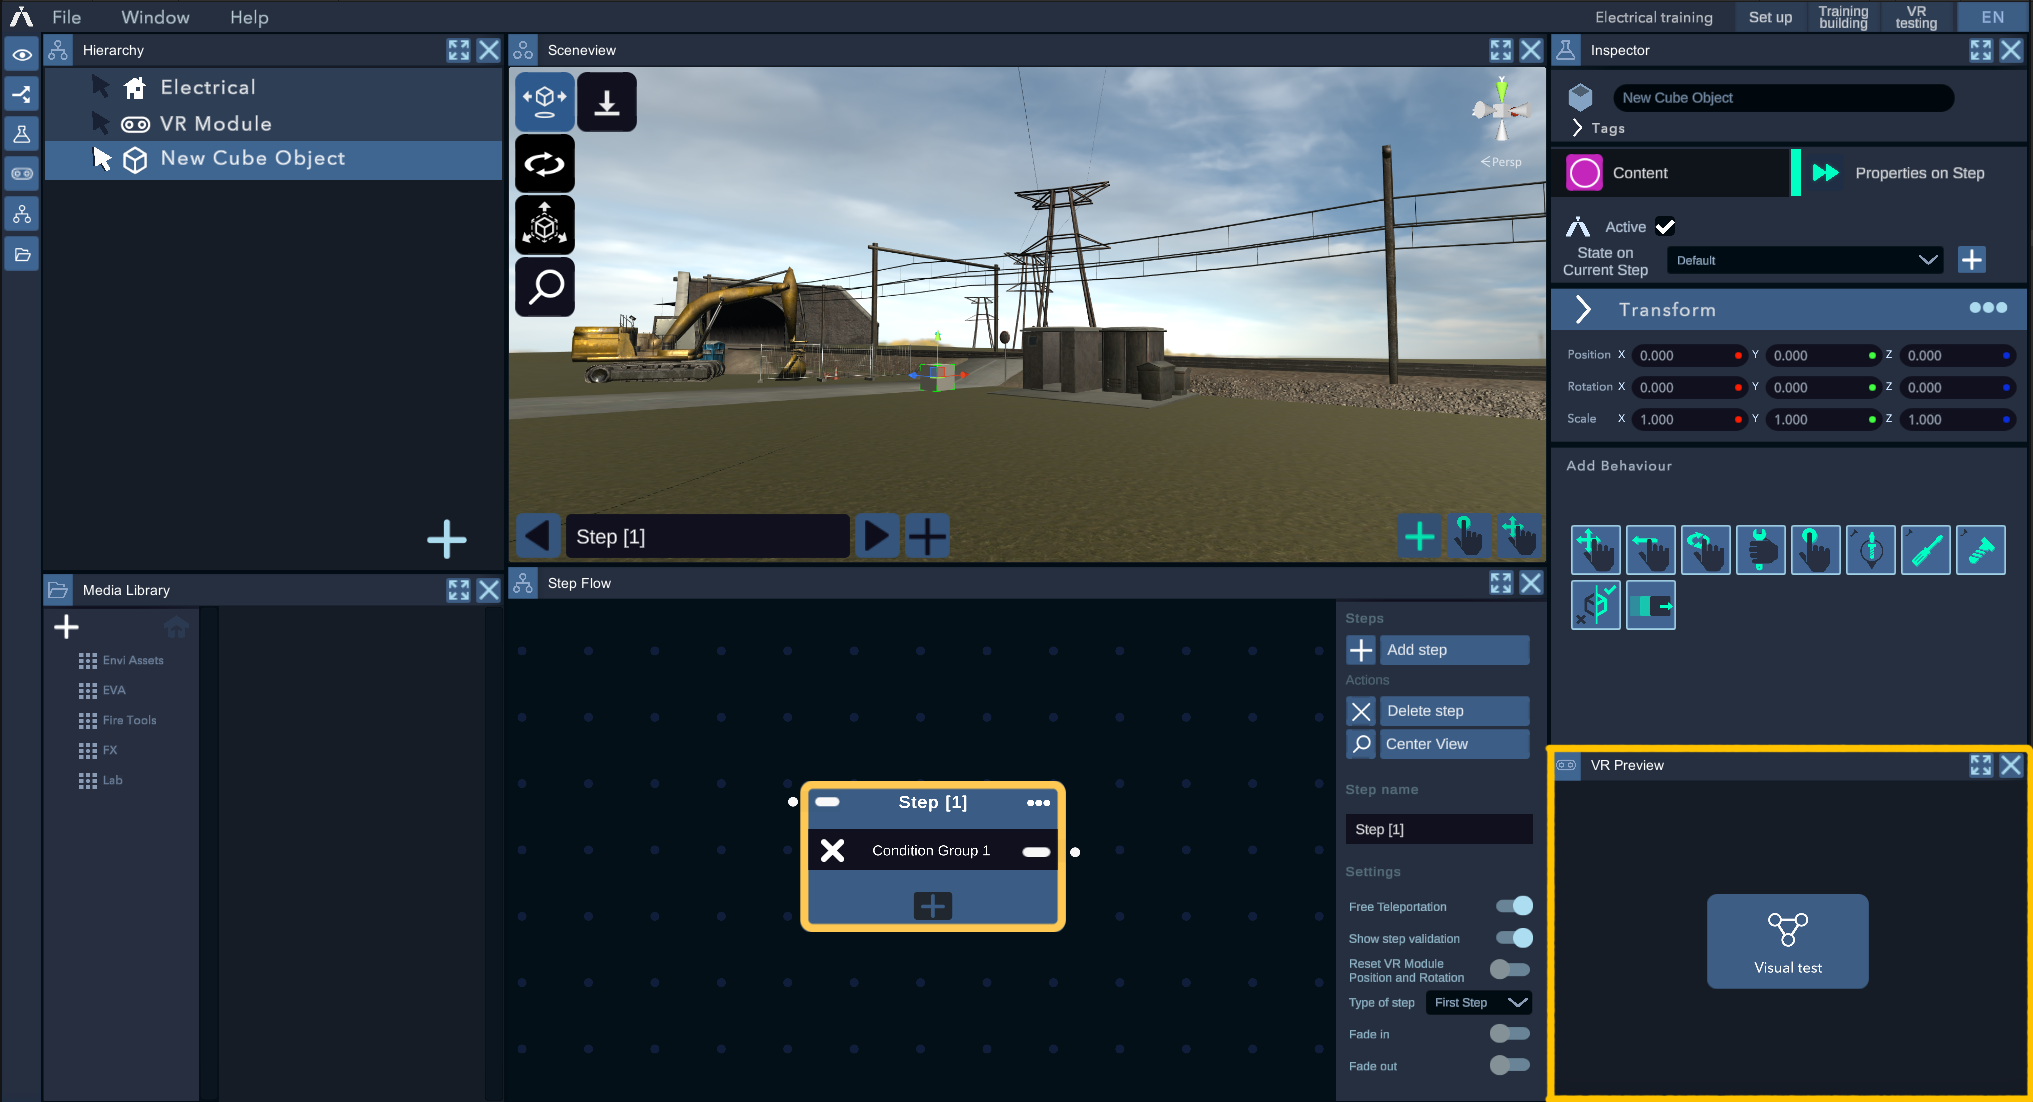
By default, the VR Preview window is always located at the bottom right of the editor. Clicking on "Visual Test" immediately launches VR. You can also see part of the user's field of view while using VR. The experience will then start from the currently selected step.
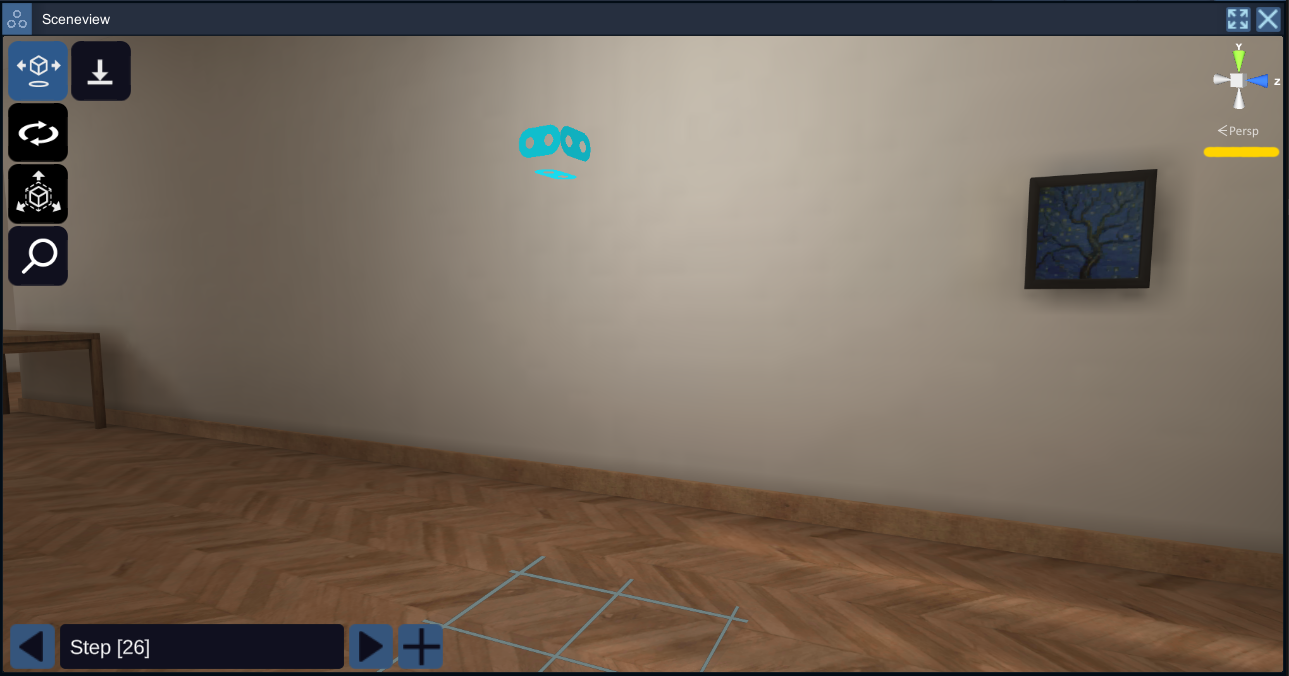
Scene View
The Sceneview window is a representation of the environment, and you can navigate within it using your mouse and certain keyboard shortcuts. You can also modify the "Transform" components of the selected object using the arrows around/on the object.
The shortcuts:
-*Right-click held + W/A/S/D/Q/E*: Move the camera.
-*Right-click held + mouse movement*: Rotate the camera around the focus point. If there is no focus point, it rotates around the origin (0,0,0) of the world.
-*Middle-click held + mouse movement*: Pan the camera along the panoramic plane.
-*Mouse wheel*: Zoom in or out towards the focus point.
-*Left-click*: Select the object under the cursor.
-*F*: Change the focus point to the selected object. Also centers the camera on the object.
-*W*: Activates the "gizmo arrows" to allow movement of the selected object.
-*E*: Activates the "gizmo circles" to allow rotation of the selected object.
-*R*: Activates the "gizmo arrows" to allow resizing of the selected object.
-*T*: Activates the "gizmo rectangles" to allow resizing of the object by face.
-*U*: Activates the "universal gizmo" to allow various modifications.
-*L*: Switches the "gizmo" from local to global, and vice versa.
Avec les gizmos en haut à droite, vous pouvez cliquer sur "Persp"/"Iso" afin de passer de vue perspective à vue isométrique. En cliquant sur les flèches, vous pouvez orienter la caméra vers l'axe sélectionné.
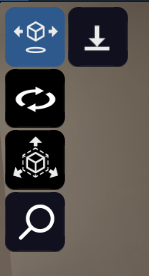
Different buttons to the left of the scene view allow you to activate certain shortcuts.
- Move: Activates the "gizmo arrows" to allow movement of the selected object.
- Rotate: Activates the "gizmo circles" to allow rotation of the selected object.
- Scale: Activates the "gizmo arrows" to allow resizing of the selected object.
- Center view: Centers the camera view on the selected object.
- Snap on the ground: Attaches the selected object to the nearest ground.
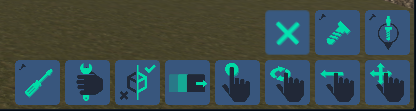
In the bottom left, you can find shortcut buttons to switch steps or add a new step (small "+").

In the bottom right, a series of small buttons are shortcuts to directly add behaviors to the selected objects. Press the small "+" to see more options.
Hierarchy
The Hierarchy contains a list of all the objects imported and used in your project. By selecting an object from this list, the related elements will appear in the Sceneview and the Inspector.
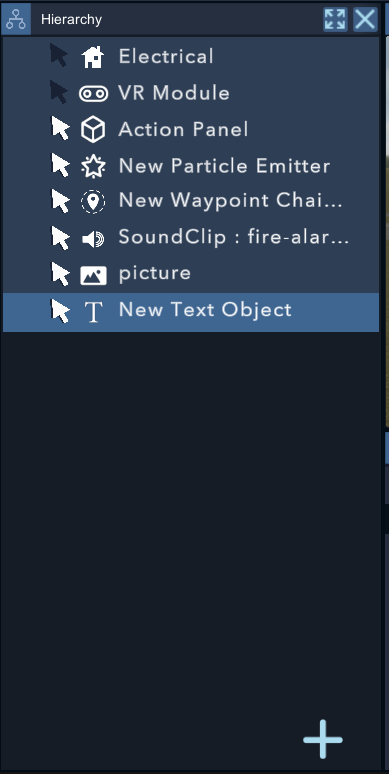
By pressing the + at the bottom right, you can also add elements.
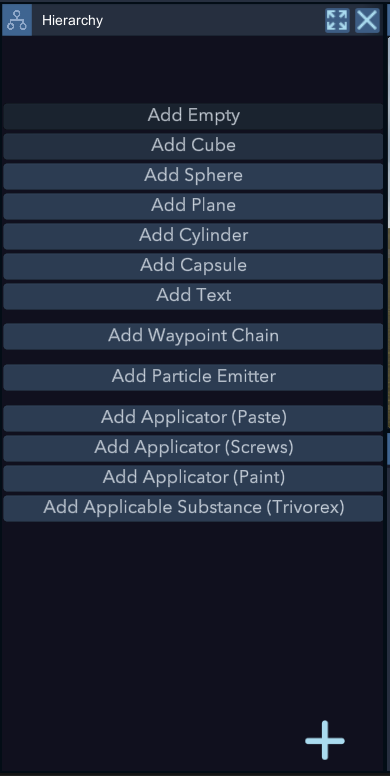
-*Add Empty*: Adds an empty object with only a Transform.

-*Add Cube*: Adds a cube.
Add Sphere: Adds a sphere.
Add Plane: Adds a plane.
-Add Cylinder: Adds a cylinder.
Add Capsule: Adds a capsule.
Add Text: Adds a Text object with a Text component. The Text component has properties that can be modified. In the Content section, you can add the text that the object will display in the experience.
-Add Waypoint Chain: Adds a waypoint chain object to define a chain of points that can be used to animate or move objects.
- Add Particle Emitter: Adds a particle Emitter object to create special effects and particles, such as fire.
Text
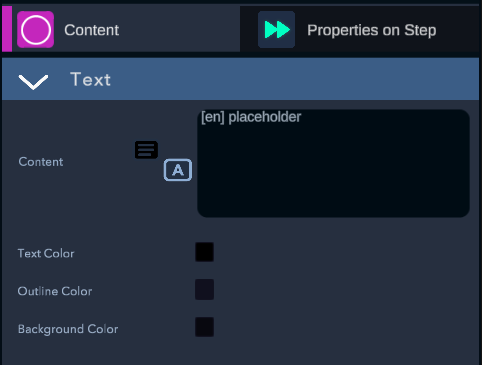
To the left of Content is the button that allows you to link a line from TextDataBase.


-*Text Color*: allows you to select the color of the text.

-*Outline Color*: allows you to select the color of the text outline.

-*Background Color*: allows you to select the background color of the text.
It is recommended to keep this to ensure readability at all times.

-*Add Fluid Emitter*: Adds a fluid emitter.

-*Add Body*: Adds a body that can be modified via the Object Editor.

-*Add Paste, Screws, Paint, Trivorex*: Adds various objects ready to be used as Unit Applicator.