Project Management
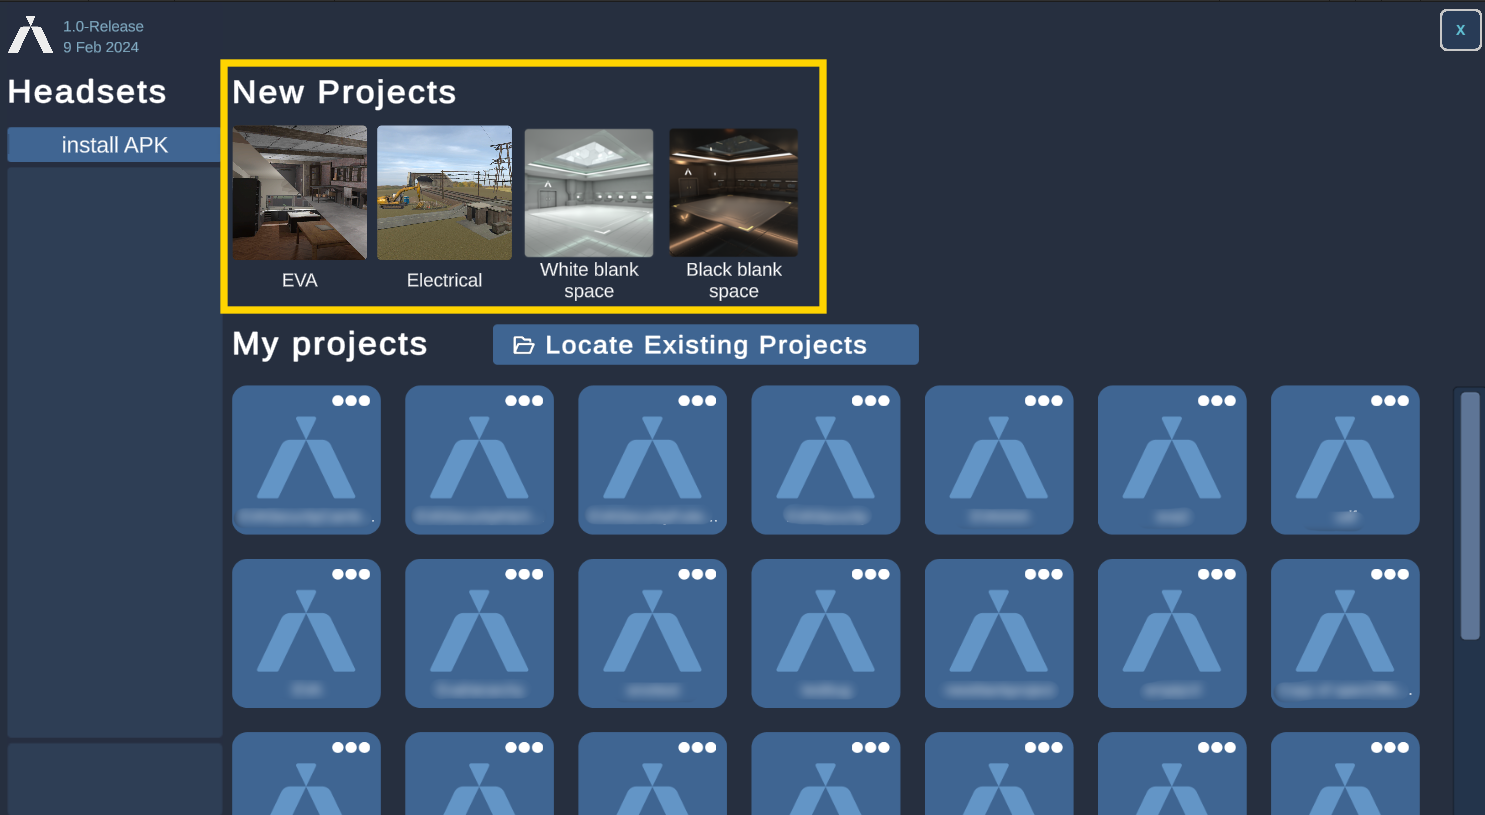
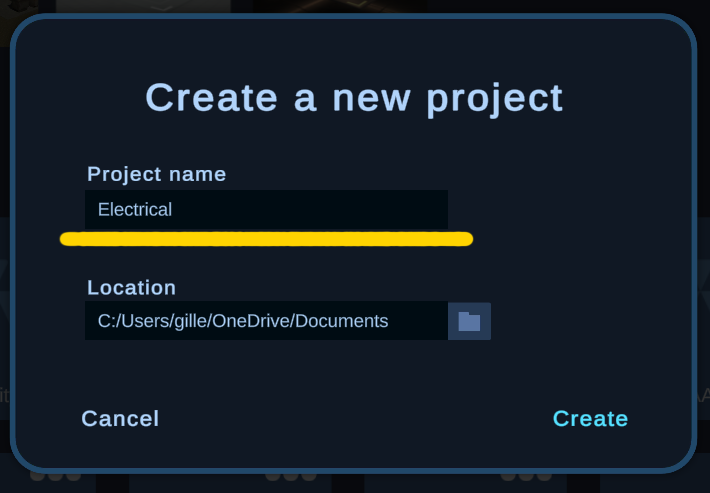
Create a new project
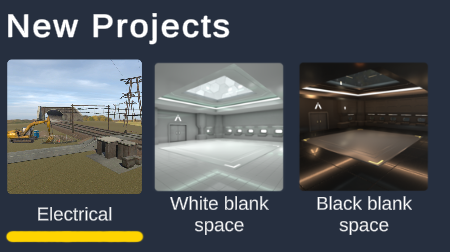
Choose an environment
Practice includes several immersive environments by default to simplify the initial setup. Choose the one that best fits the atmosphere you want to create in your experience..
Choose the folder path
Choose the location where your experience will be saved on your machine. Note that you can always move the file outside the editor, but you will need to relocate your save in that case.
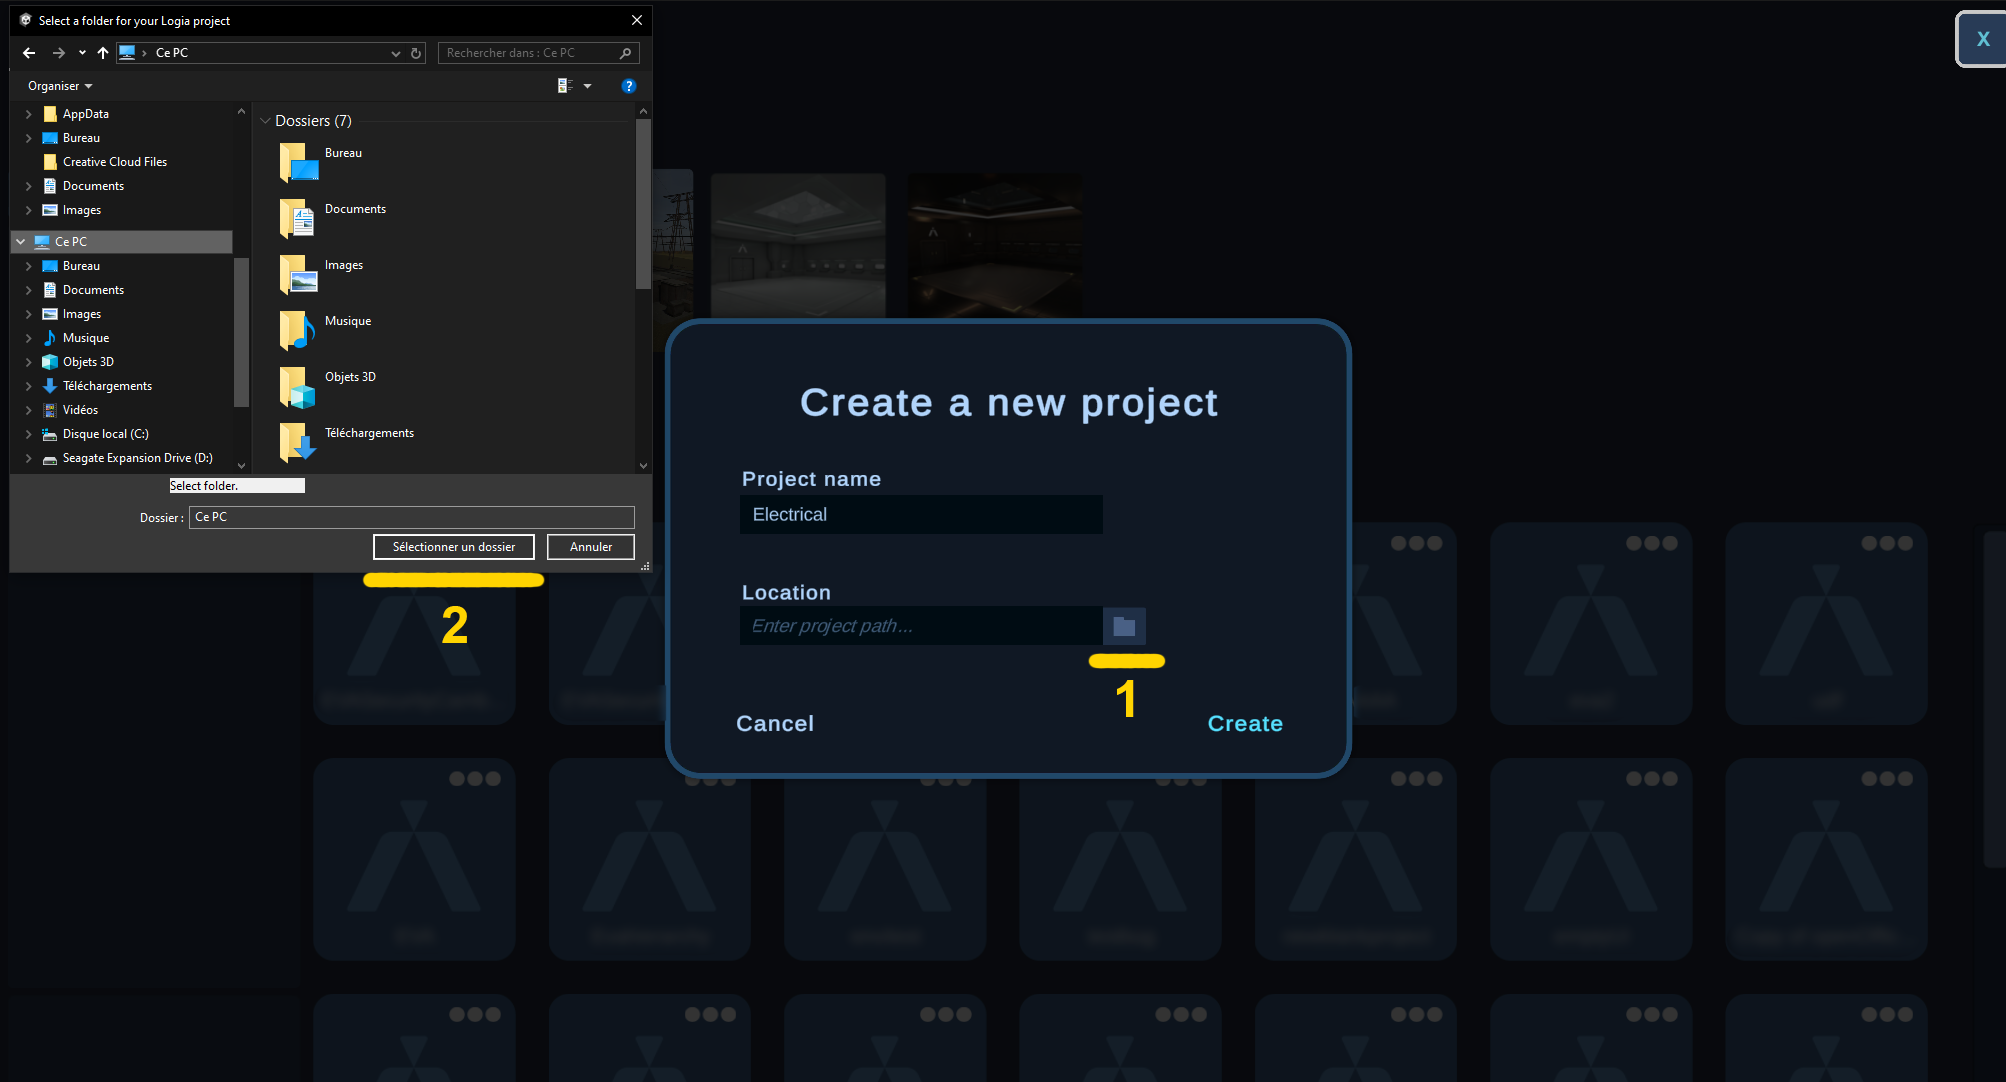
Name your project
Here you can define the name of your project. It will then have a .logia extension.
Load an existing project.t
Practice Editor can open all experiences with the .logia extension in the same way as Practice Reader. The difference is that, as the name suggests, Practice Editor can modify experiences, while Practice Reader can only reproduce them.
Locate existing project
If you have acquired a .logia experience, you will need to locate it on your hard drive. To do this, click the "Locate Existing Projects" button to browse your storage system and find your .logia experience. Once selected, the experience will appear in the "My Projects" list.
Remove existing project
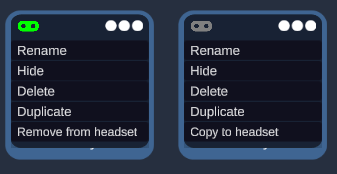
If you want to hide a project displayed in "My Projects," simply click on the "..." located at the top of the project's card. Then, select "Hide."
This operation will only hide the project from the Practice software. The .logia file will still be on the disk.
Delete existing project
You can also delete a project from Practice Editor by clicking on the "..." and selecting "Delete." This operation will remove the project's link as well as the associated .logia file.
This operation is permanent, and the file will be permanently deleted from the hard drive. This action is not available in Practice Reader.
Troubleshooting
If the loading screen does not appear after double-clicking, it could be due to the following reasons:
The .logia file has been deleted.
The .logia file has been moved on the disk: you can hide it ("Hide") and then [relocate project](project_management#Remove existing project).
The .logia file is from a newer version or a version not compatible with your current editor version. In this case, please update your Practice version.
You do not have the necessary permissions on your machine: Practice requires write permissions. Please contact your administrator.
Install Practice and training on an Android headset:
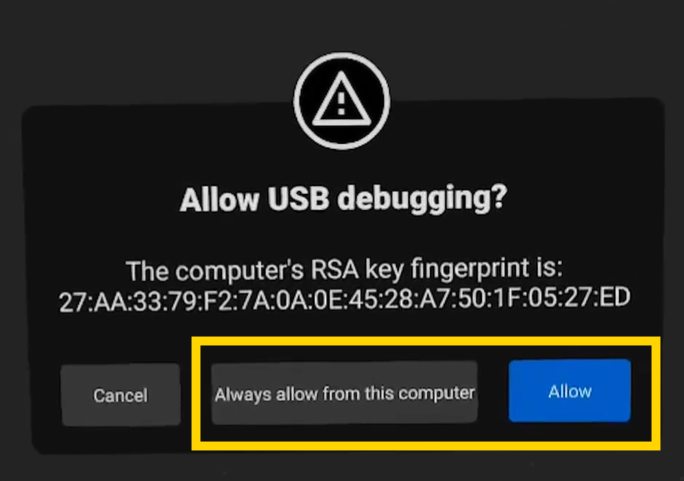
Connect your headset:
Connect your headset via USB.
Don't forget to enable USB transfers in the headset settings.
Install Practice:
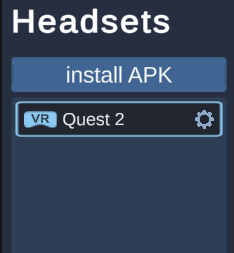
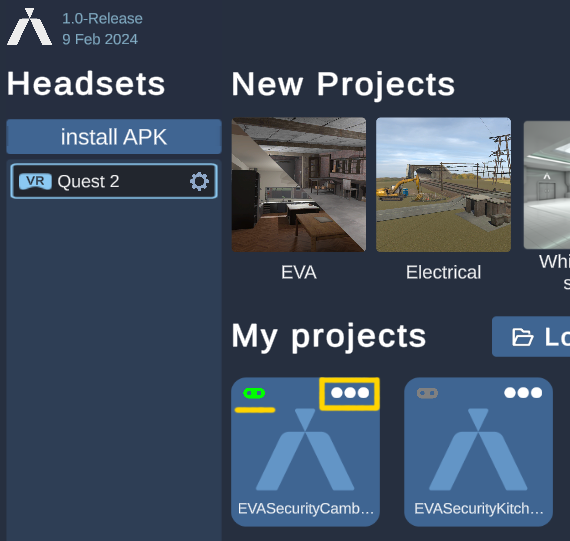
Next, open Practice. You will now see the list of connected headsets on your left.
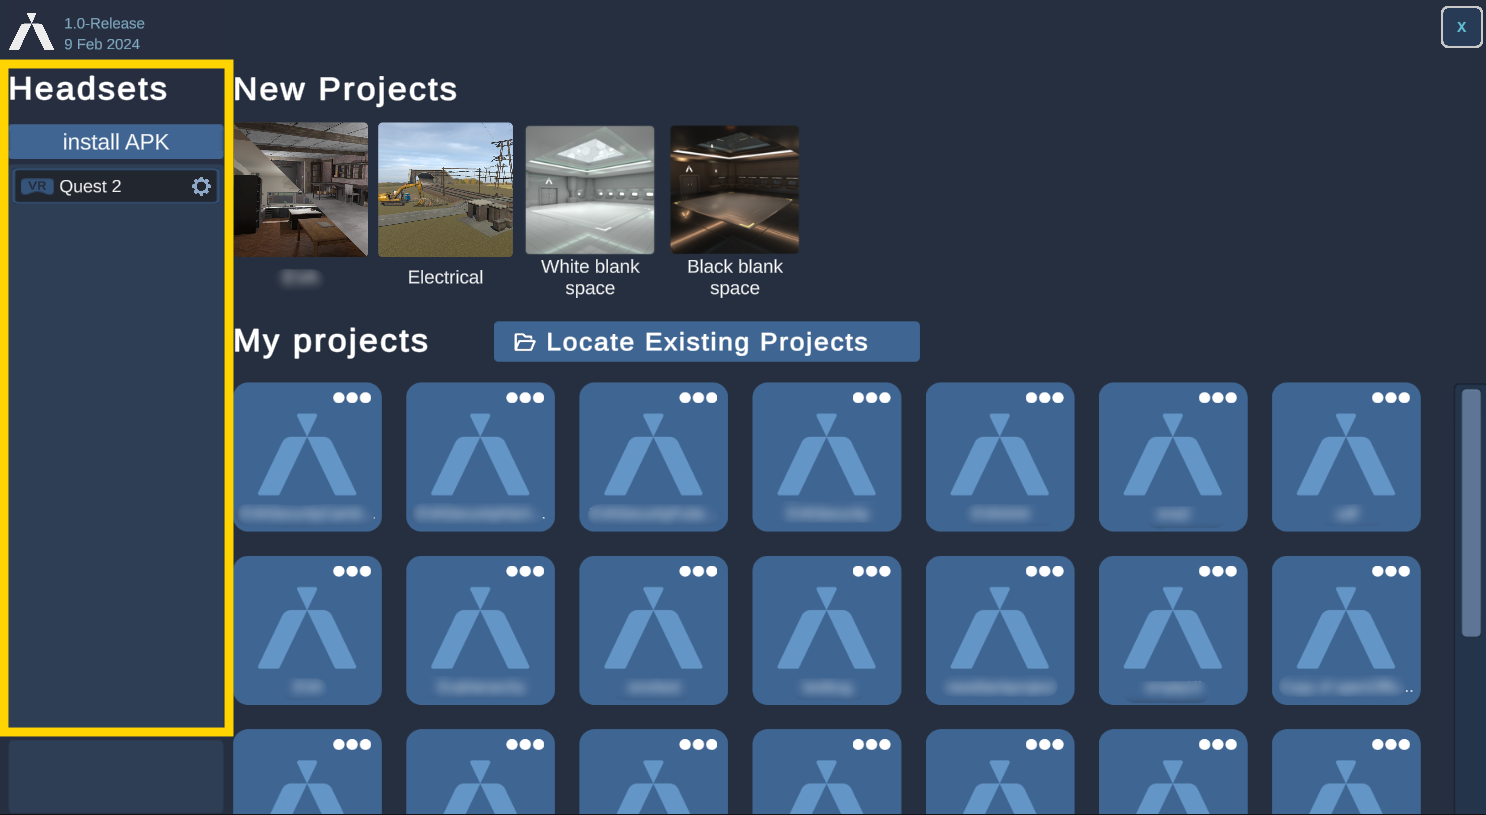
You now need to select a headset (click on the headset button) and click on the "Install APK" button.
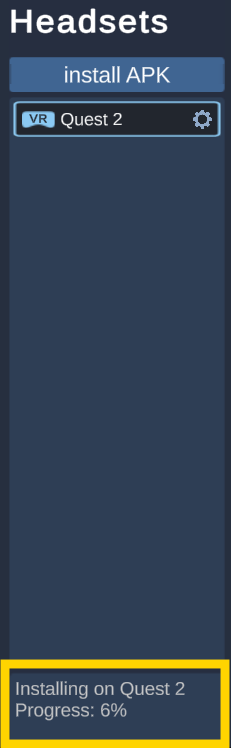
This step allows you to install Practice on the headset. If an error appears at the bottom left, make sure all the previous steps have been completed correctly. Otherwise, a message will confirm that Practice has been successfully installed.

You will now see a small gray headset icon appear in the top left corner of each training session you have created. When this icon turns green, it indicates that the training is successfully installed on the headset.
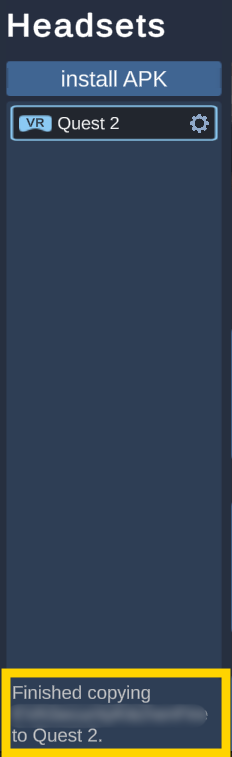
Click on the three dots "..." to the right of this icon and select the "Copy to headset" option. If the training is already installed, you can click on "Remove from headset." This will allow you to reinstall a training session on the headset in case of any modifications.
You are now ready to unplug your headset and start your training sessions!
Launch a training in VR:
Start Practice from the list of your applications on the headset. You will find yourself in an environment called the HUB. Here, you will see a smartboard floating in the middle of the room. Select the training sessions you installed earlier and press the start button.